Genshin Impact Shenhe Build


Polearm
Support
Shenhe Upgrade Materials
Shenhe Best Artifacts
1

Noblesse Oblige
2
Shimenawa’s Reminiscence
Gladiator’s Finale
3
Emblem of Severed Fate

Gladiator’s Finale
4

Blizzard Strayer
5
The Exile
Shenhe Best Weapons
1
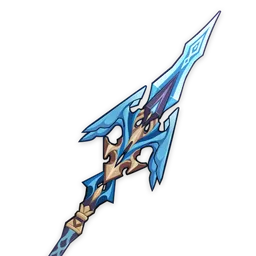
Calamity Queller
2
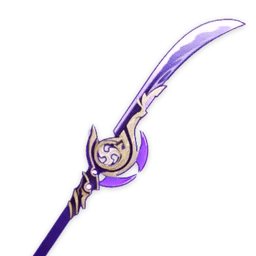
Engulfing Lightning
3
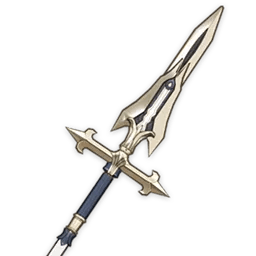
Favonius Lance
4
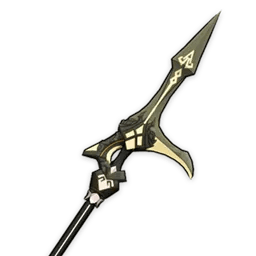
Prototype Starglitter
5
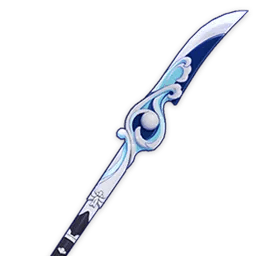
Wavebreaker’s Fin
Shenhe Artifacts Desc
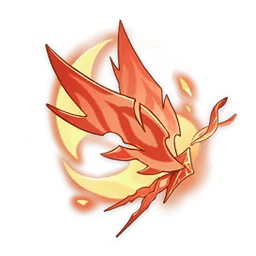
4 piece Noblesse Oblige is an excellent artifact for Shenhe, especially if she’s used as a Cryo Burst support. If no other characters in a Freeze team are using this artifact, her Elemental Burst will boost the attack of all party members in the Freeze team. If you’re building a Freeze team, this artifact is a top choice for her
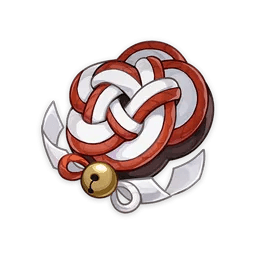
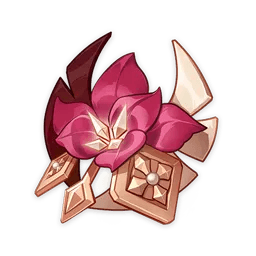
Her Burst has an energy cost of 80, which is quite high. To boost her ATK support abilities, the best option is to use 2 pieces of Shimenawa’s Reminiscence and 2 pieces of Gladiator’s Finale artifacts. This combination will increase her attack percentage.
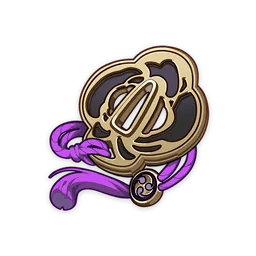
If you want to reduce her energy struggles a bit, you can use 2 pieces of Emblem of Severed Fate, which will provide a 20% boost to energy recharge.
Shenhe Weapons Desc
The best 5-star weapon for her is Calamity Queller. It provides a high base attack and an Elemental DMG bonus. As an alternative, you can choose Engulfing Lightning, which offers a bit of Energy Recharge and a significant boost to Attack Percentage.
If you don’t have either of these 5-star weapons, the best 4-star option is Favonius Lance. It provides a high base attack and Energy Recharge. Many players use this weapon because it helps meet Shenhe’s energy needs and benefits the entire party as well.
Shenhe Main Stats
Sands: Energy Recharge
Goblet: ATK%
Circlet: ATK%
Shenhe Substats
1
Energy Recharge
2
ATK%
3
Crit Rate / Crit DMG
Shenhe Talent Priority
Elemental Skill
Elemental Burst
Normal Attack
Shenhe Rotation Skill
Use her Elemental Skill (especially Hold Variant)
Switch to Main DPS to deal Heavy DMG
Use her Elemental Skill (especially Tap Variant) (Swap Back to Shenhe)
Switch to Main DPS, Sub DPS, or Support.
Switch to Shenhe to use her Burst (If energy needs are met)
Repeat Again
Shenhe’s rotation can be challenging due to her high energy cost, making it difficult to use her Burst skill frequently. To manage this, start by using Shenhe’s Elemental Skill, focusing on the Hold variant. Next, switch to your main DPS to deal heavy damage. Afterward, swap back to Shenhe and use her Elemental Skill again, this time using the Tap variant. Then, switch to your main DPS, sub DPS, or support characters to maximize damage output. Finally, return to Shenhe to use her Burst skill. This rotation helps balance her energy needs while optimizing damage.
Shenhe Overview
Shenhe is a 5-star Cryo character in Genshin Impact who uses polearm weapons in battle. She is mainly a Cryo supporter who enhances her team’s damage through her Elemental Skill and Passive Talents.
Her Elemental Skill, Spring Spirit Summoning, has two versions: Tap and Hold. When you tap, she dashes forward, attacks, and generates 3 Cryo particles, gaining 5 Icy Quills. When you hold, she creates a circle that deals AoE Cryo damage to opponents. Her Passive Talent, Spirit Communion Seal, boosts the damage of both the Tap and Hold versions of this move. Her Burst, Divine Maiden’s Deliverance, deals AoE Cryo damage to opponents and reduces their Cryo and Physical resistance. However, the drawback is that it costs 80 Energy, which is quite high. Because of this, using her Burst multiple times can be impractical.
Shenhe Best Team
1. Shenhe Freeze Teams
Main DPS
Sub DPS
Support
Support


Ayaka


Kazuha


Shenhe


Kokomi


Wriothesley


Shenhe


Sucrose


Diona
2. Shenhe Mono Cryo Teams
Main DPS
Sub DPS
Support
Support


Kazuha


Rosaria


Shenhe


Diona


Ganyu


Ayaka


Shenhe


Jean
Shenhe Video Guide
Shenhe Talents

Normal Attack
Dawnstar Piercer
Normal Attack
Performs up to five consecutive spear strikes.
Charged Attack
Consumes a certain amount of Stamina to lunge forward, dealing damage to opponents along the way.
Plunging Attack
Plunges from mid-air to strike the ground below, damaging opponents along the path and dealing AoE DMG upon impact.

Elemental Skill
Spring Spirit Summoning
The skill unleashes frosted dew to remove all demons, applying the Icy Quill effect to nearby party members and dealing Cryo DMG in two ways depending on whether the skill is tapped or held.
Tap/Press
Rushes forward with a Talisman Spirit, dealing Cryo DMG to opponents along the path.
Hold
Summons the Talisman Spirit to deal AoE Cryo DMG.
Icy Quill
Enhances Cryo DMG from Normal, Charged, and Plunging Attacks, as well as Elemental Skills and Bursts, based on the character’s current ATK. The effect lasts longer and can be triggered more times when the skill is held instead of tapped. If Cryo DMG hits multiple opponents, the effect triggers multiple times, with each party member benefiting independently from the Icy Quill.

Elemental Burst
Divine Maiden’s Deliverance
Unleashes the power of the Talisman Spirit, allowing it to roam free in this plane, dealing AoE Cryo DMG. The Talisman Spirit then creates a field that decreases the Cryo RES and Physical RES of opponents within it. It also deals periodic Cryo DMG to opponents within the field.
Shenhe Passive Skills

Ascension Passive
Deific Embrace
An active character within the field created by Divine Maiden’s Deliverance gains 15% Cryo DMG Bonus.

Ascension Passive
Spirit Communion Seal
After using Spring Spirit Summoning, nearby party members receive the following effects:
- Press/Tap: Increases Elemental Skill and Elemental Burst damage by 15% for 10 seconds.
- Hold: Boosts Normal, Charged, and Plunging Attack damage by 15% for 15 seconds.

Utility Passive
Precise Comings and Goings
Gains 25% more rewards when dispatched on a Liyue Expedition for 20 hours.
Shenhe Constellation

C1
Clarity of Heart
Spring Spirit Summoning can be used 1 more time.

C2
Centered Spirit
Divine Maiden’s Deliverance lasts for 6 seconds longer. Active characters within the skill’s field deal 15% increased Cryo CRIT DMG.

C3
Seclusion
Increases the Level of Spring Spirit Summoning by 3.
Maximum upgrade level is 15.

C4
Insight
When characters affected by Icy Quill trigger its damage bonus effects, Shenhe gains a Skyfrost Mantra stack.
· Using Spring Spirit Summoning: Shenhe will consume all Skyfrost Mantra stacks, increasing the damage of the skill by 5% per stack consumed.
· Max 50 stacks. Stacks last for 60s.

C5
Divine Attainment
Increases the Level of Divine Maiden’s Deliverance by 3.
Maximum upgrade level is 15.

C6
Mystical Abandon
When characters trigger Icy Quill’s effects with Normal or Charged Attacks, it does not count towards the Trigger Quota.
Shenhe Ascension Material Cost










Shenhe Talent Material Cost
